
How to create a bee colony (an artificial swarm)

How to create a bee colony (an artificial swarm)
Sweeping bees
In order to create a swarm artificially, you have to
sweep out 2 kilograms of bees from the honey
chambers. We recommend sweeping bees from 3 to 4 hives. The most convenient time for this 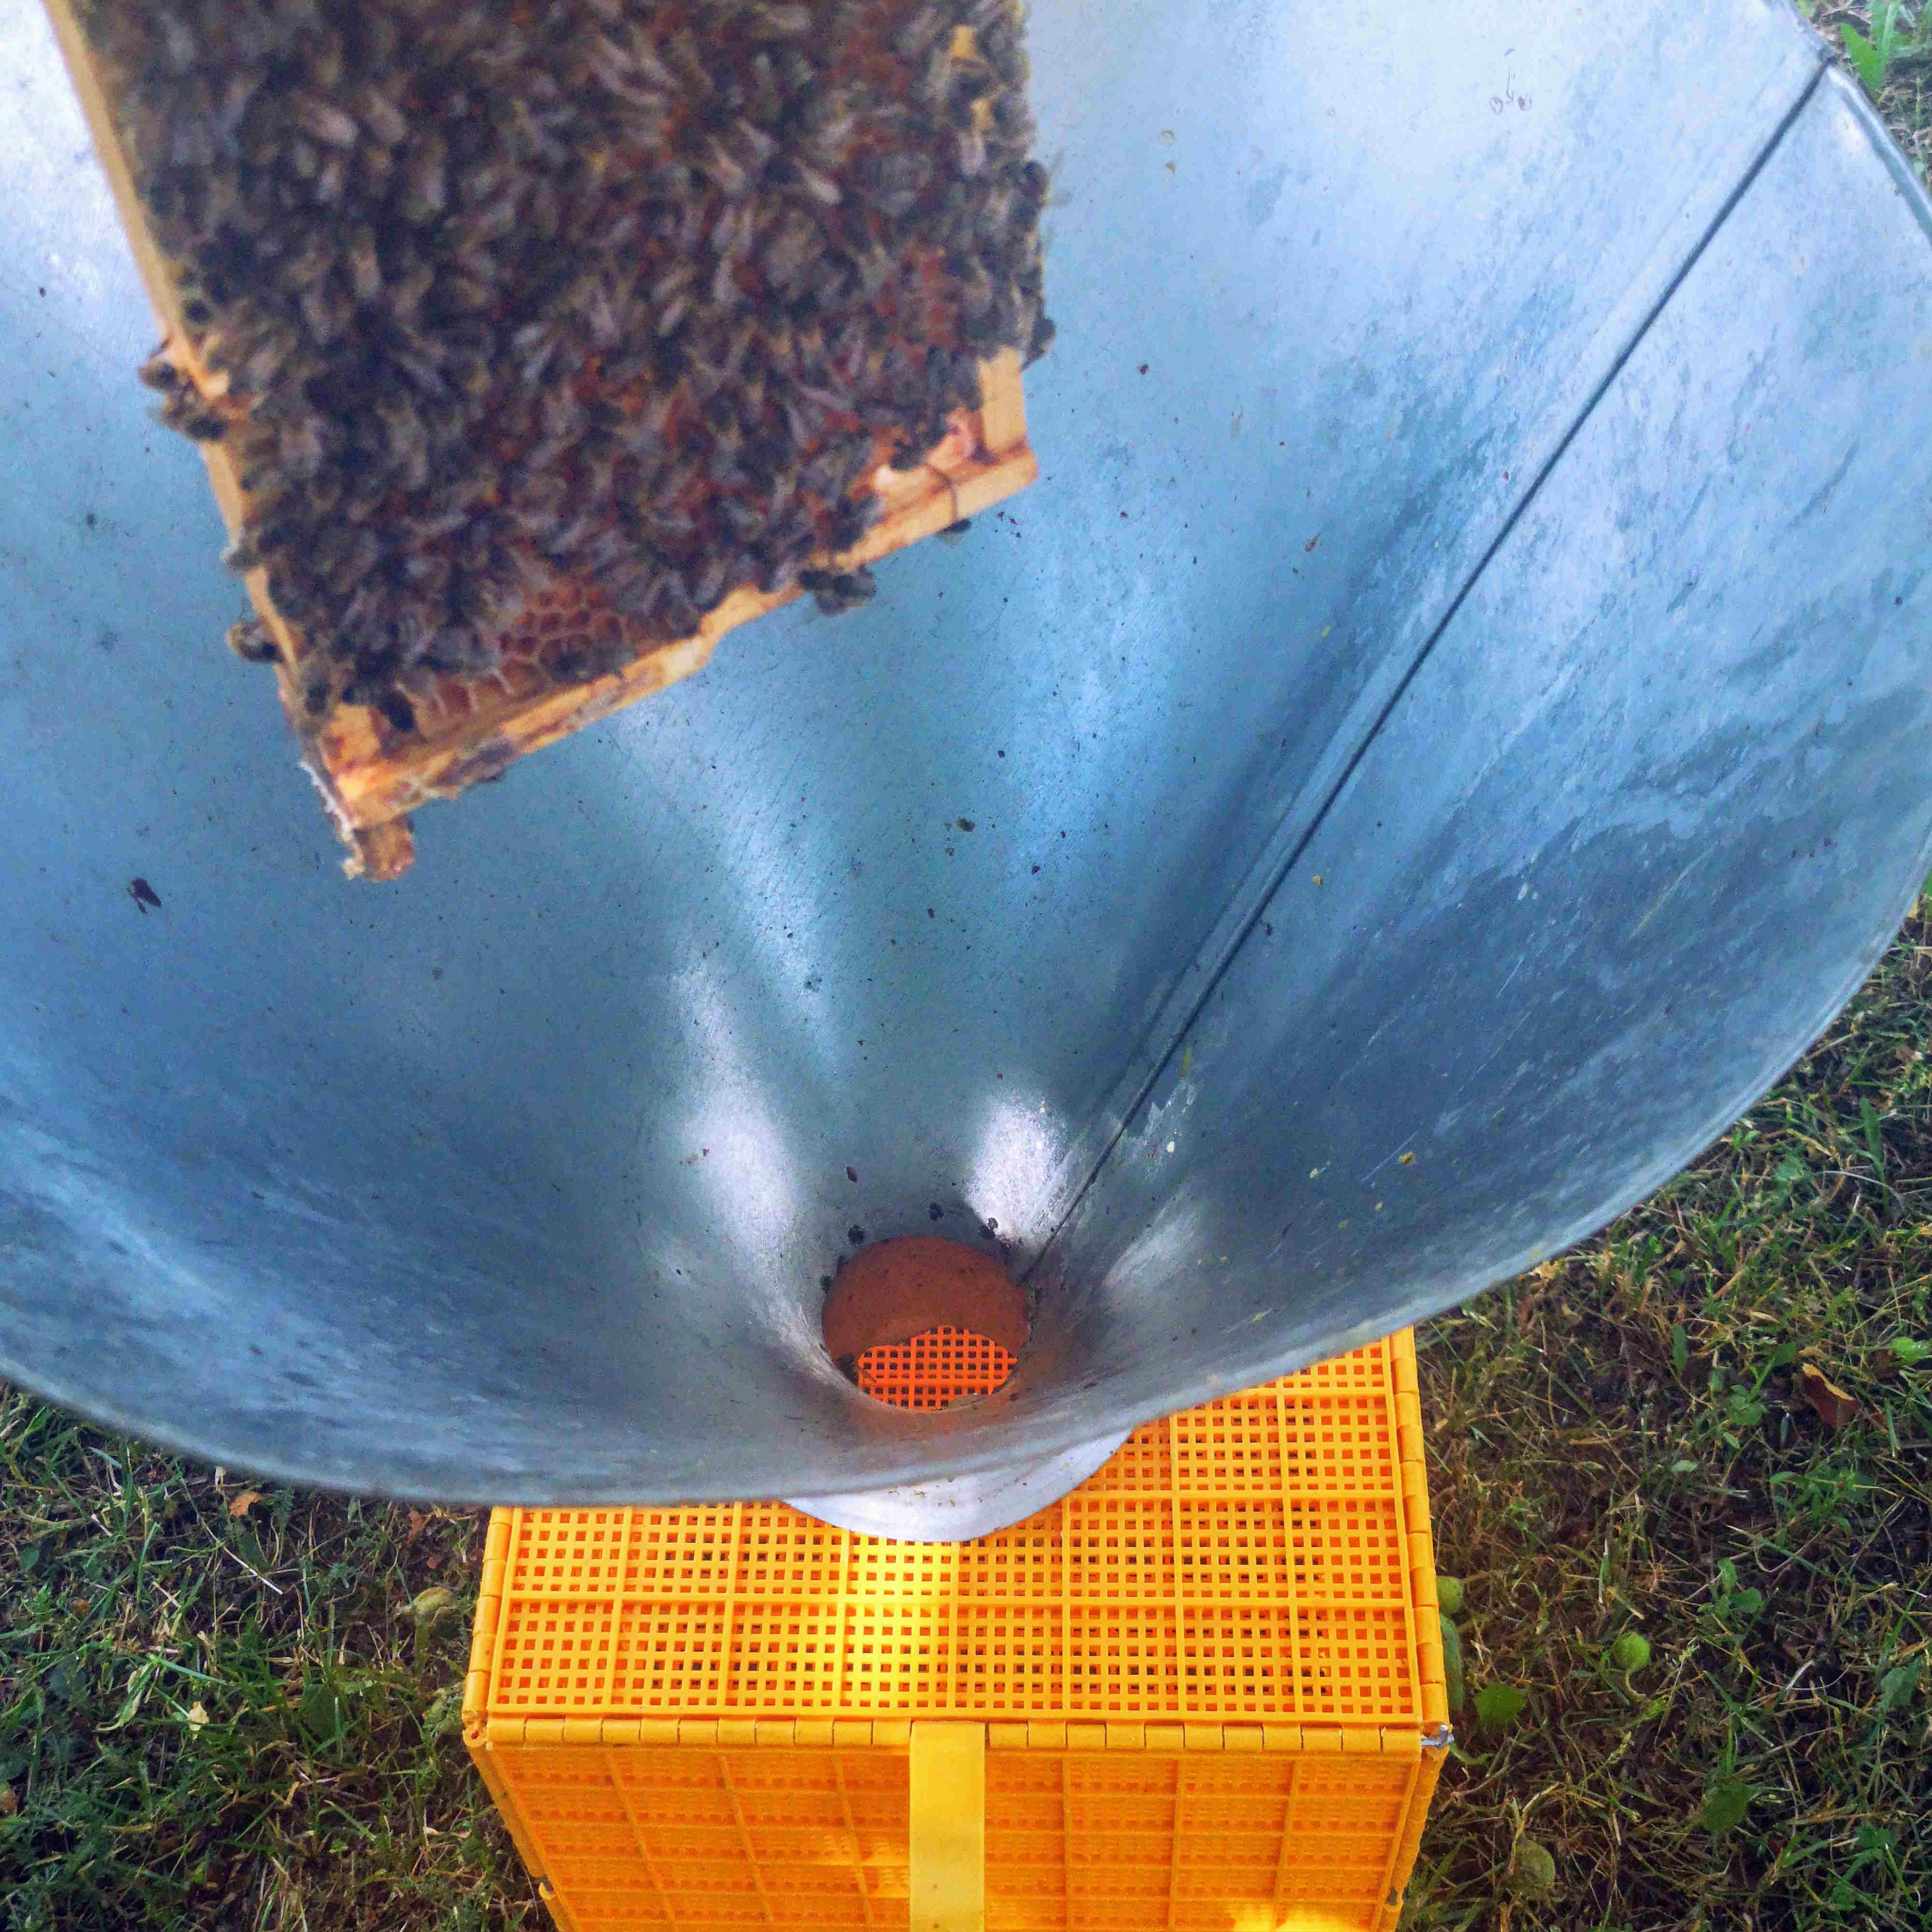 For a well-knit colony, it is best to
mix bees from several different hives. This means that
the smell of the bees from different hives will mix, and
the probability of the new swarm accepting a new queen will grow substantially. So sweeping bees from
several different hives is of critical importance. Sweep the bees into a special-purpose perforated box. Before you do your sweeping, spray your bees and funnel
generously with water – the bees will be less stressed
and hot, while their wet wings will prevent them from
moving about too much.
For a well-knit colony, it is best to
mix bees from several different hives. This means that
the smell of the bees from different hives will mix, and
the probability of the new swarm accepting a new queen will grow substantially. So sweeping bees from
several different hives is of critical importance. Sweep the bees into a special-purpose perforated box. Before you do your sweeping, spray your bees and funnel
generously with water – the bees will be less stressed
and hot, while their wet wings will prevent them from
moving about too much.
Sweeping away part of a colony will benefit both the bees and the beekeeper: very large colonies tend to swarm during an abundant harvest, so sweeping away some of the bees will help preserve the honey harvest and the queen bee as well as safely and conveniently establishing a new bee swarm in an area that offers an abundance of nectar.
Preparing the hive
Much like with every family, colonies need a home
that is suitably prepared: a place that provides plenty
of delicious and nutritious food, offers sufficient
space, good airflow and is safely constructed. This is
exactly the type of home we create for our bees. For
them, there is no better home than a clean and
spacious hive. In the new hive, we close off the main
entrance and prepare safe structures for them to
inhabit – six brood chamber frames lined with wax
foundations that they can turn into honeycomb.
Though many don’t believe this to be true, placing real
wax foundations helps create a cleaner hive less prone
to disease. At the end of each frame, we place a hive
divider and secure everything in place so that the
frames stay in place when transporting the hive. In
order to make this new home more hospitable, we
make sure to leave the bees some food at the bottom of
the hive – 1.5 kg of bee candy (a special dough made
of honey and sugar specially for feeding bees). We are now close to having a hive prepared for bees to move
into.
Home wouldn’t be home without the main guarantor of family welfare – a mother. A mated queen bee must be placed inside the hive. In order to ensure that the bees accept their new queen and prevent them from sentencing her to death, we need to make the queen bee’s pheromonal smell less potent. The miracle of water will once again provide us with a fitting solution – so spray her majesty’s chamber with it. Congratulations! You have only one last thing to take care of before letting your bees establish themselves: open the door and place the queen’s cage into the hive between the frames. When the attendant bees eat through the bee candy and enter the hive along with the queen, they’ll begin the process of establishing and strengthening their colony.
From different hives to one colony
A well-prepared hive does not yet guarantee that a colony will come together successfully. Bees are very clever. They can find their way home from distances of a dozen kilometres, so making them accept the new hive and a new set of colleagues will require some knowledge and resourcefulness. But first, let’s let the bees settle into their new home. Generously spray the bees in their special container with water and shake them out into the hive, covering it with the breathable screen as quickly as we can. Strap the hive down for secure transportation. You might find it useful to mark the queen’s information down on the side of the hive, including lineage, year and ID number.
And now the time has come for a little trick. To make sure that the bees don’t simply find their way back to their former homes when we open the hive entrance, we need to erase their memory. Sound like a scene from a sci-fi movie? No, we won’t be using a magical device. Truth be told, we won’t be using any kind of device. In order to let the bees get used to their new home and forget their old one, we’ll place this hive in a cool dark place for 3–4 days. This period of time will be an important factor in the development of a tight-knit family – not only will the bees forget their former residence, they will also make friends with their new family and the new queen.
After this memory-erasing procedure, in the evening, transport the bee colony to its new permanent location, open up the entrance and spray those miraculous 2 kg of bees with some organic BeeVital treatment against mites. After a day, check to make sure that all is right in the hive: the bees are calm, the queen has been accepted and the honeycomb is nearly finished. To strengthen the colony, place a feeder on the hive and fill it with 1 litre of sugar and water syrup (at a ratio of 1:1) in the evening. That first gulp of syrup will be greater because the hive barely contains any food stores at first. Refill the feeder every third day with half a litre of sugar syrup to encourage the bees further. Just don’t forget that these supporting feeds should only be offered in the evenings. Rely on these tips and you’ll see just how beautifully your colony of Buckfast bees comes together and grows from strength to strength.
Congratulations! Your bee colony is all set up. From this day on, the queen bee will begin laying her eggs and won’t stop doing so until the very end of her reign, while the bees and their fragile bodies will stand and fight to protect their new family. From this day on, they are all for one, and one for all. And all devoted to one sole cause – gathering nectar and producing a bountiful harvest of fresh honey.


